5 Steps to Designing Your Own Custom Wedding Rings

Let’s face it, guys. Shopping for jewelry probably isn’t too high on the list of wedding planning activities you’re most looking forward to. This is probably due to jewelry shopping horror stories you’ve heard from friends and families. It’s a fair point, but one that doesn’t have to hold true.
One of the most intimate ways you can get involved in wedding planning is actually designing your own custom wedding rings. Intrigued?
We recently had the opportunity to talk with Seattle’s Joseph Jewelry about just how simple it can be to design your own engagement ring or wedding bands.
Joseph Jewelry specializes in creating custom wedding rings that fits your style and budget.
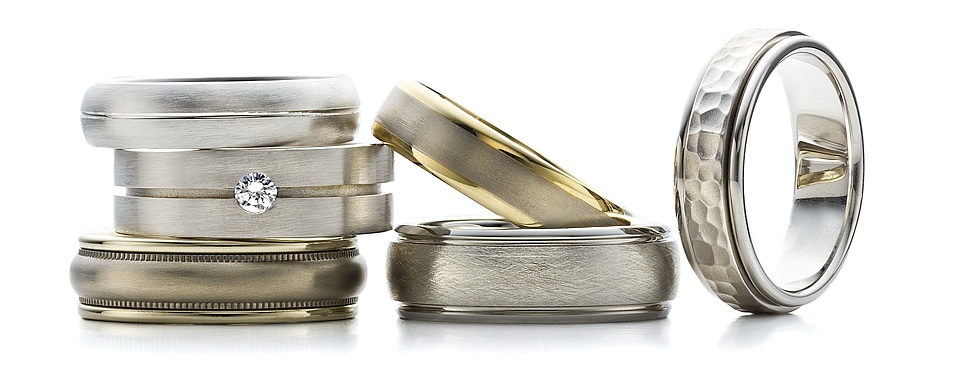
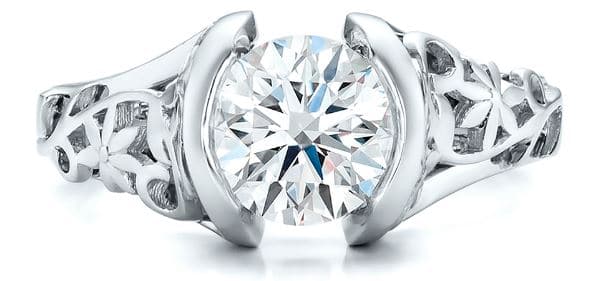
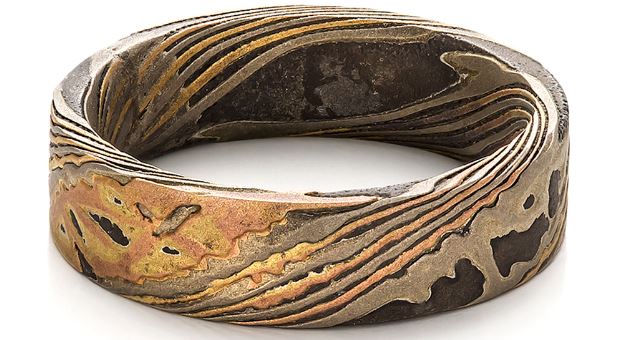
Instead of going to the obligatory chain store and browsing hundreds of rings that were designed with the mass consumer in mind, YOU get to work directly with Joseph’s professional designers to truly craft the ring(s) of your dreams.
The process may sound complex but it’s anything but. Here’s the quick five-step guide on how it works:
Step 1: Design
Your experience begins with an initial (free) consultation where you’ll meet with one of Joseph’s skilled jewelry artisans to discuss style ideas and view finished examples.
If you’re a tech guy, you’ll enjoy viewing computer generated images that will show what your end product will look like.
This consultation is all about forming a personal bond with the artisan who will be creating a piece of jewelry that you’ll wear for the rest of your life.
If you’re on a solo custom engagement ring shopping trip, don’t forget to go have a solid idea of what her preferences are BEFORE heading to the consultation.

Step 2: Quote
Joseph Jewelry prides themselves on crafting beautiful, custom wedding rings that stay within your budget. Once your design and choice of gemstone and metal quality are decided on, an estimate will be provided.
Step 3: 3D Modeling
Now the fun can begin. Using your custom design, a 3D model of your ring will be created. Changes can still be made to the piece throughout this process — without a price change, in most cases.
Once the 3D model is completed, it’s sent to you for edits and approval.

Step 4: Wax Molds
The next step is using stereo lithography technology to create a wax version of your custom design. This version is to scale, so you’ll be able to get the look and feel of the real thing (only in wax).
For your convenience, this model can be viewed at Joseph Jewelry or mailed worldwide.
Step 5: Production
Your creation comes to life! Production times vary, but plan on the processing taking 3-4 weeks. After you receive your jewelry, your relationship with Joseph Jewelry doesn’t have to end.
Additionally, they offer an array of services, including appraisals, certifications, repair work, engraving and more.
Learn more and being the ring building experience by connecting with Joseph Jewelry on Pinterest, Facebook, & Twitter


Such a cool idea! I love photographing custom rings at weddings!